Constraint Guide
Start
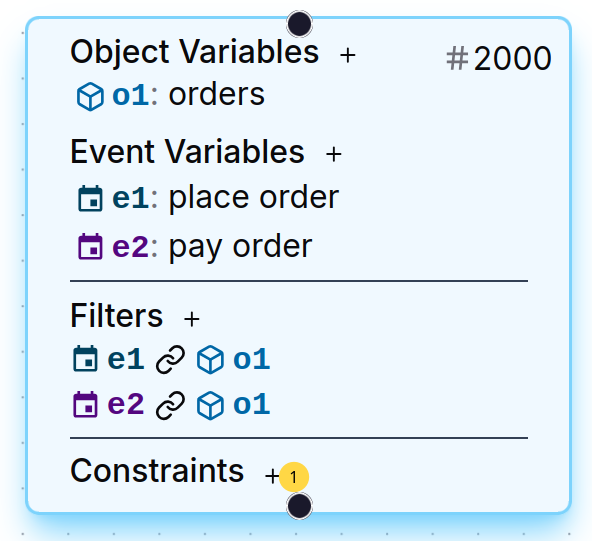
First, to get started refer to the Query Guide and follow the steps to load an OCEL, create a node with some object and event variables. In our example, we start with the node shown below.

Adding Constraints
To add a constraint to an existing node, click on the plus icon next to the word Constraints 1.
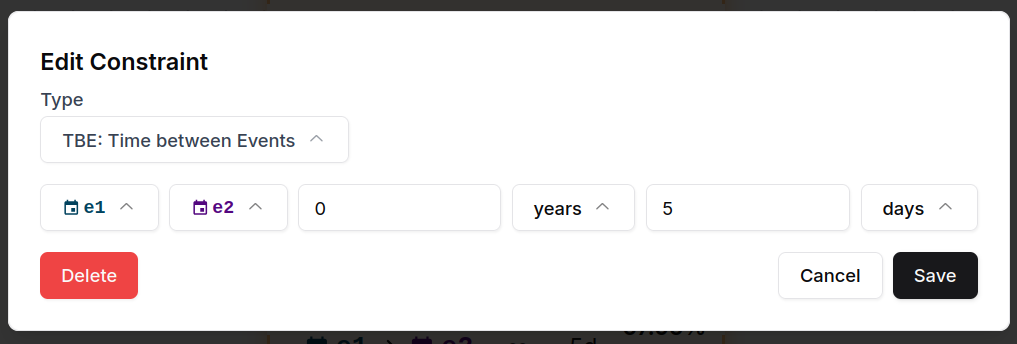
In the resulting dialog, you can select the type of filter 1. For this example, we used the TBE predicate, which is based on the time between two event variables. The event variables in our example are e1 2 and e2 3. A lower bound (i.e., how much time must at least be between e1 and e2) 4 and an upper bound (how much time is allowed at most between e1 and e2) 5 can then be specified. In our example, we want to only allow payment of an order within 5 days of its placement, and also not before. Thus, we do not select a lower bound (i.e., minus infinity) and an upper bound of 5 days.
Finally, click on Add 6 to save the constraint.
Evaluating Constraints
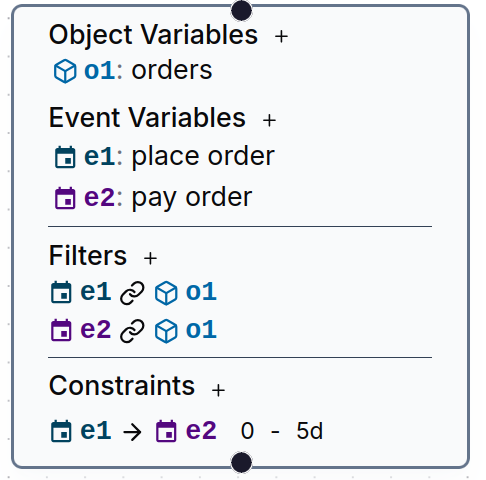
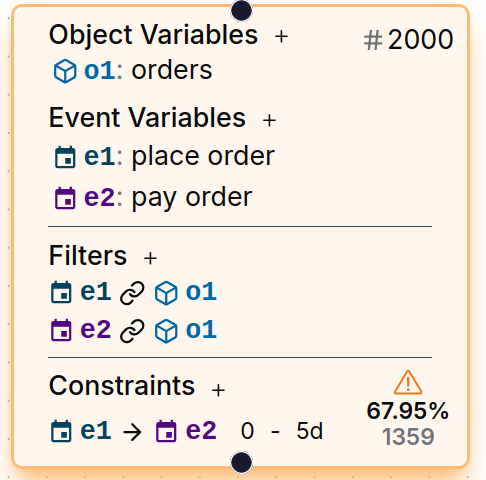
With the added constraint, the node should look as shown below.
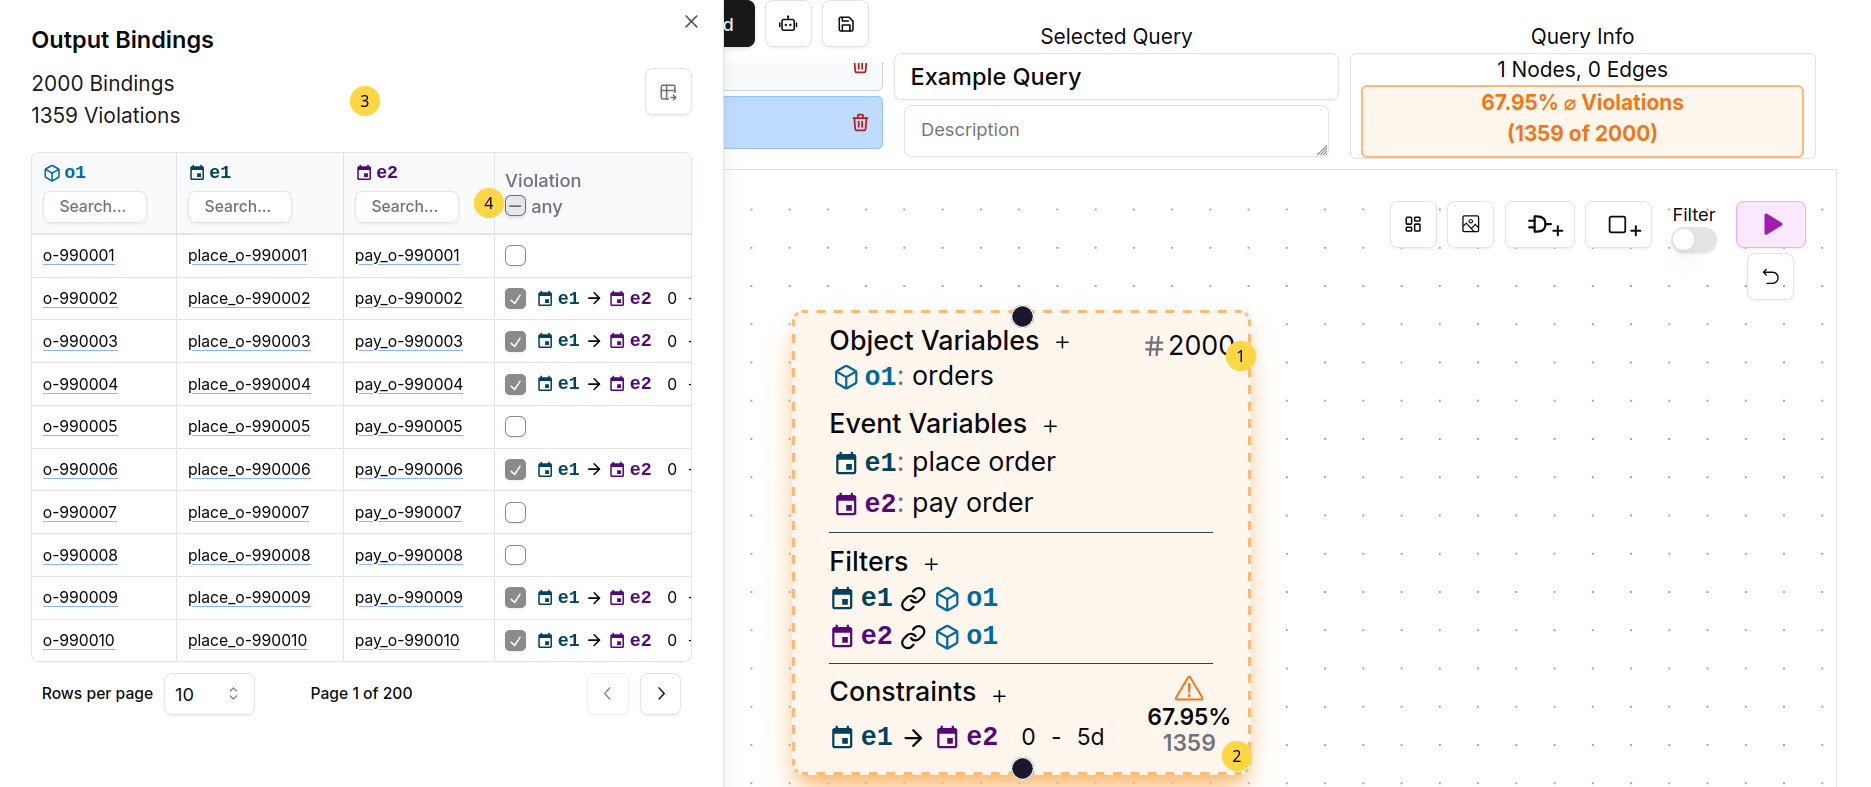
To evaluate the node on the loaded dataset, simply press the play button, as mentioned before in the Query Guide. You will notice that a node with constraints is colored according to its violation percentage. In our example dataset, the modeled constraint is violated for 67.95% of bindings and the node is thus shown in orange, as shown below.
By clicking on the number of queried bindings (top right of the node 1) or the number or percentage of violation (bottom right of the node 2), the result sidepanel can be opened. There the individual output bindings can be explored and filtered according to their value of violation status (using 4).