Query Guide
Loading OCEL
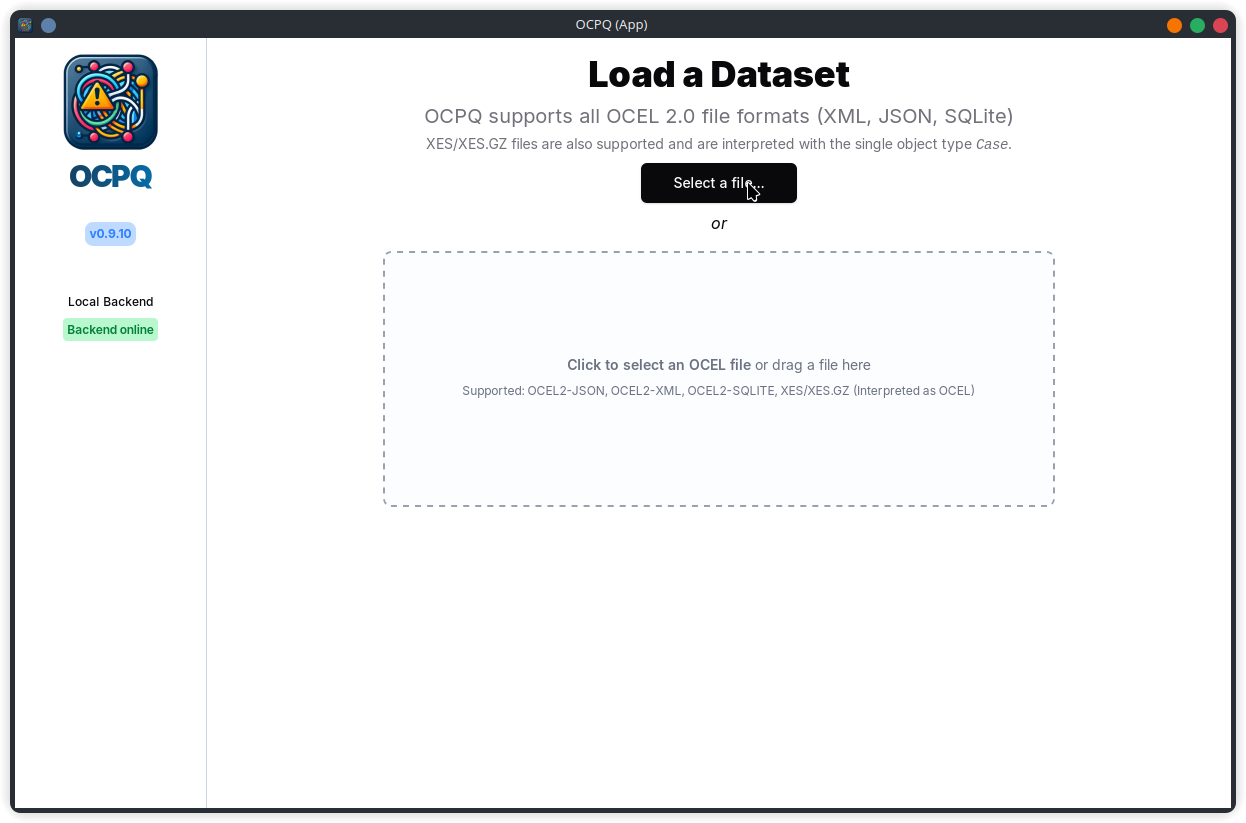
Before using OCPQ, you first need to load an OCEL dataset. Currently, OCPQ supports the OCEL 2.0 format in all available file formats (XML, JSON and SQLite). To get started, you can download example OCEL 2.0 files from here.
You can import the OCEL 2.0 file in OCPQ from the initial view. For that simply select the file in XML, JSON, or SQLite format using the corresponding button. Case-centric event logs are also supported using the XES format.
OCPQ Query Editor
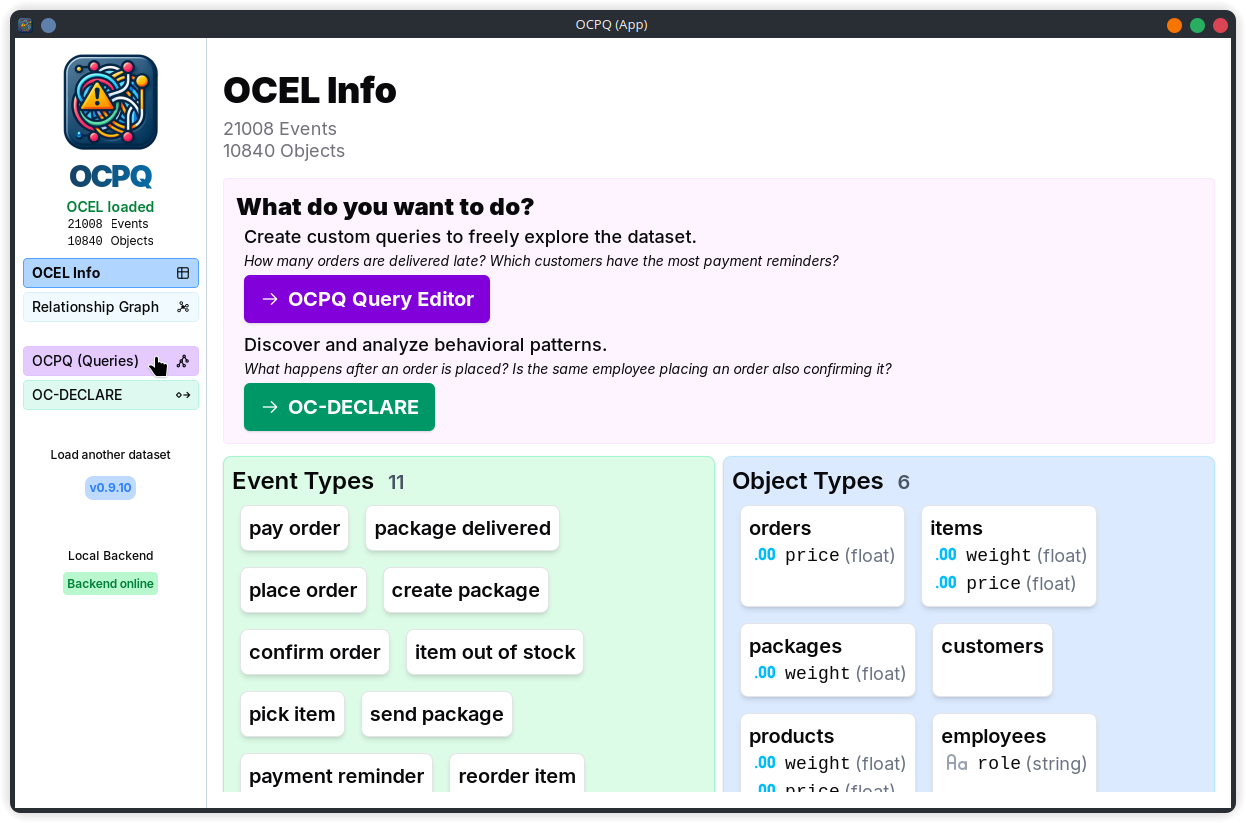
After the OCEL is successfully loaded, you can view basic statistics of the loaded dataset.
From the sidebar, select the OCPQ (Queries) button to open the OCPQ query editor.
Creating a new Query
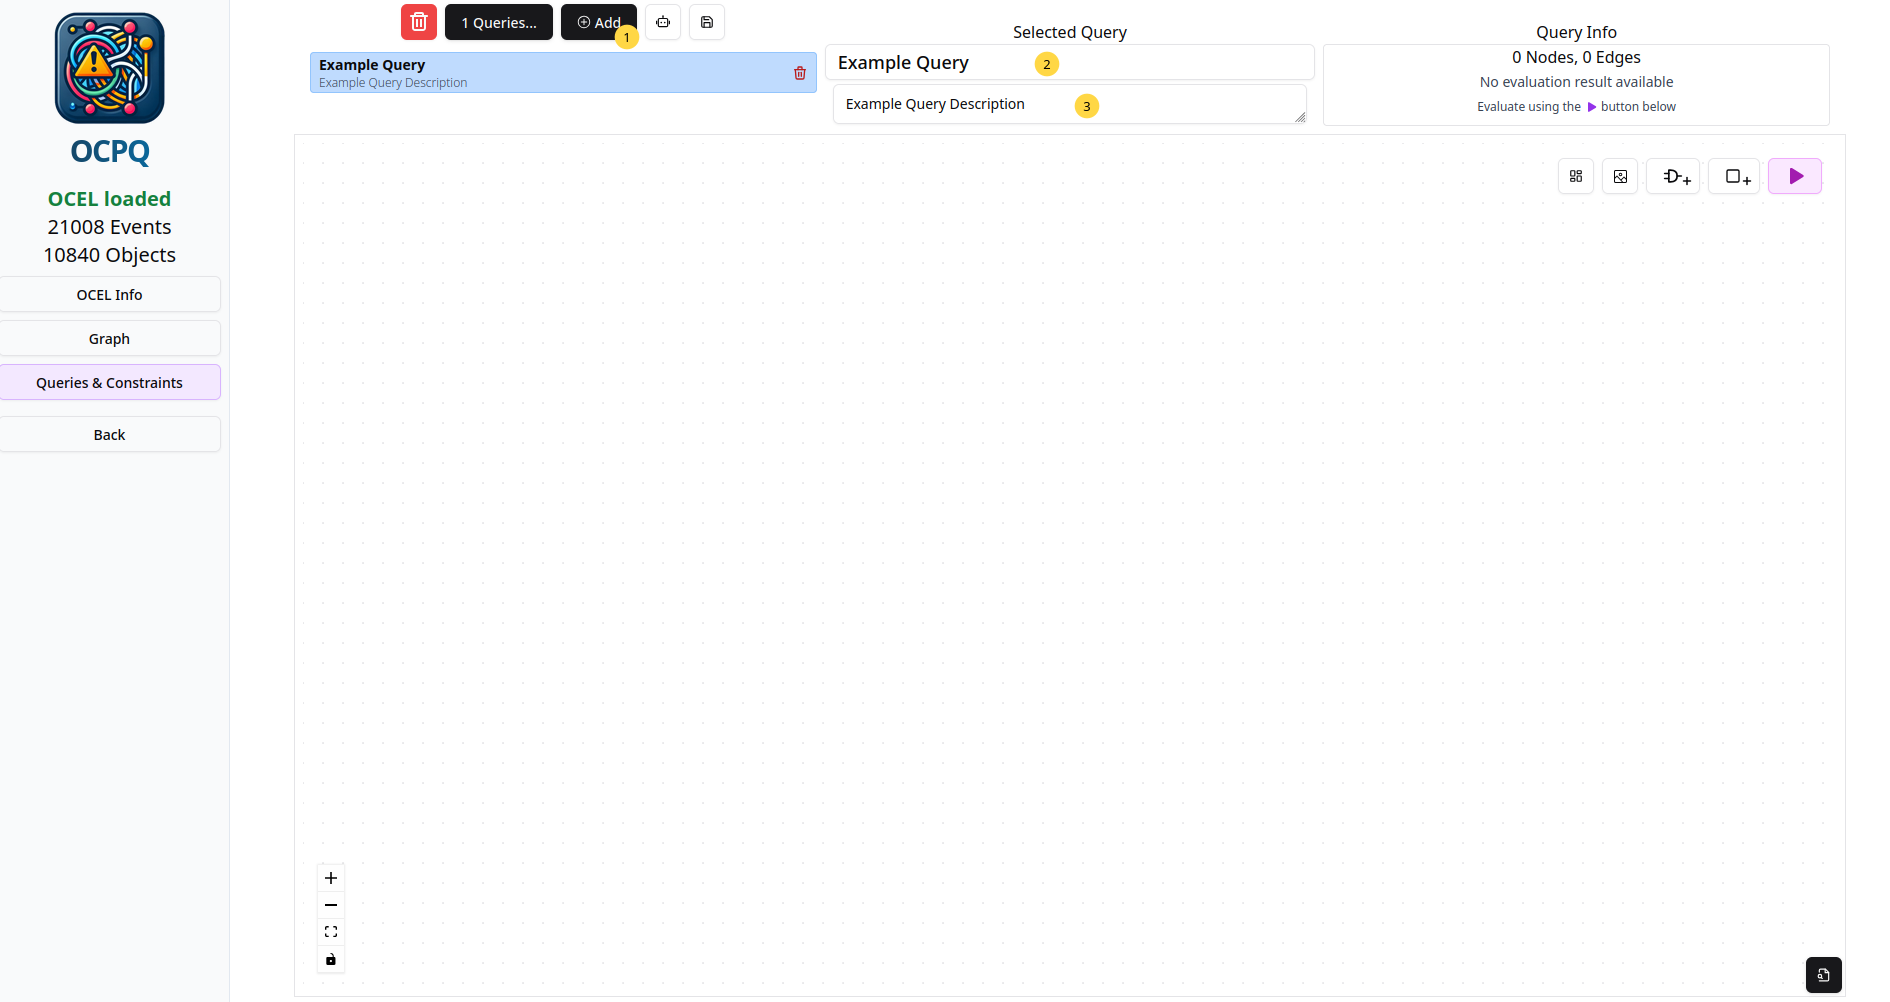
The query editor allows you to create, save, and manage queries and constraints. There, you can add a new query 1 and edit its name 2 and description 3.
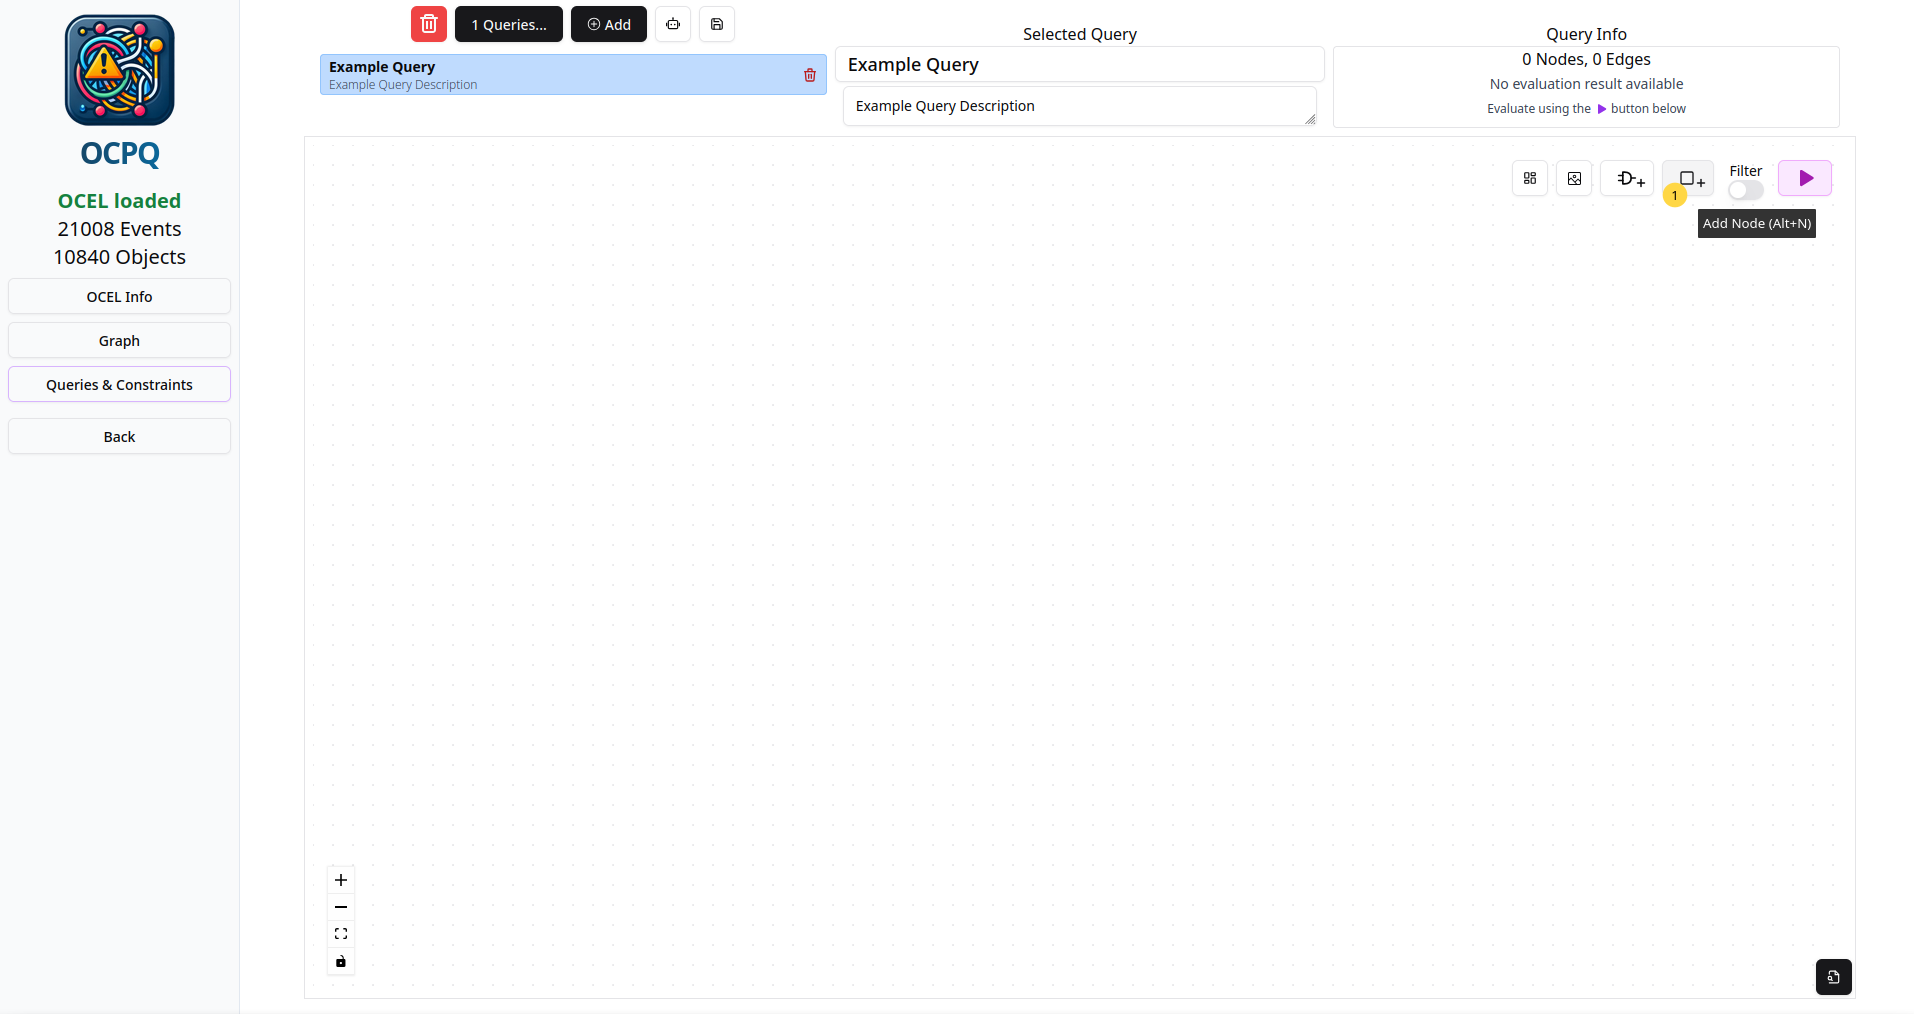
To actually add a node to the query click on the button on the top right of the query editor.
Adding Variables and Filters
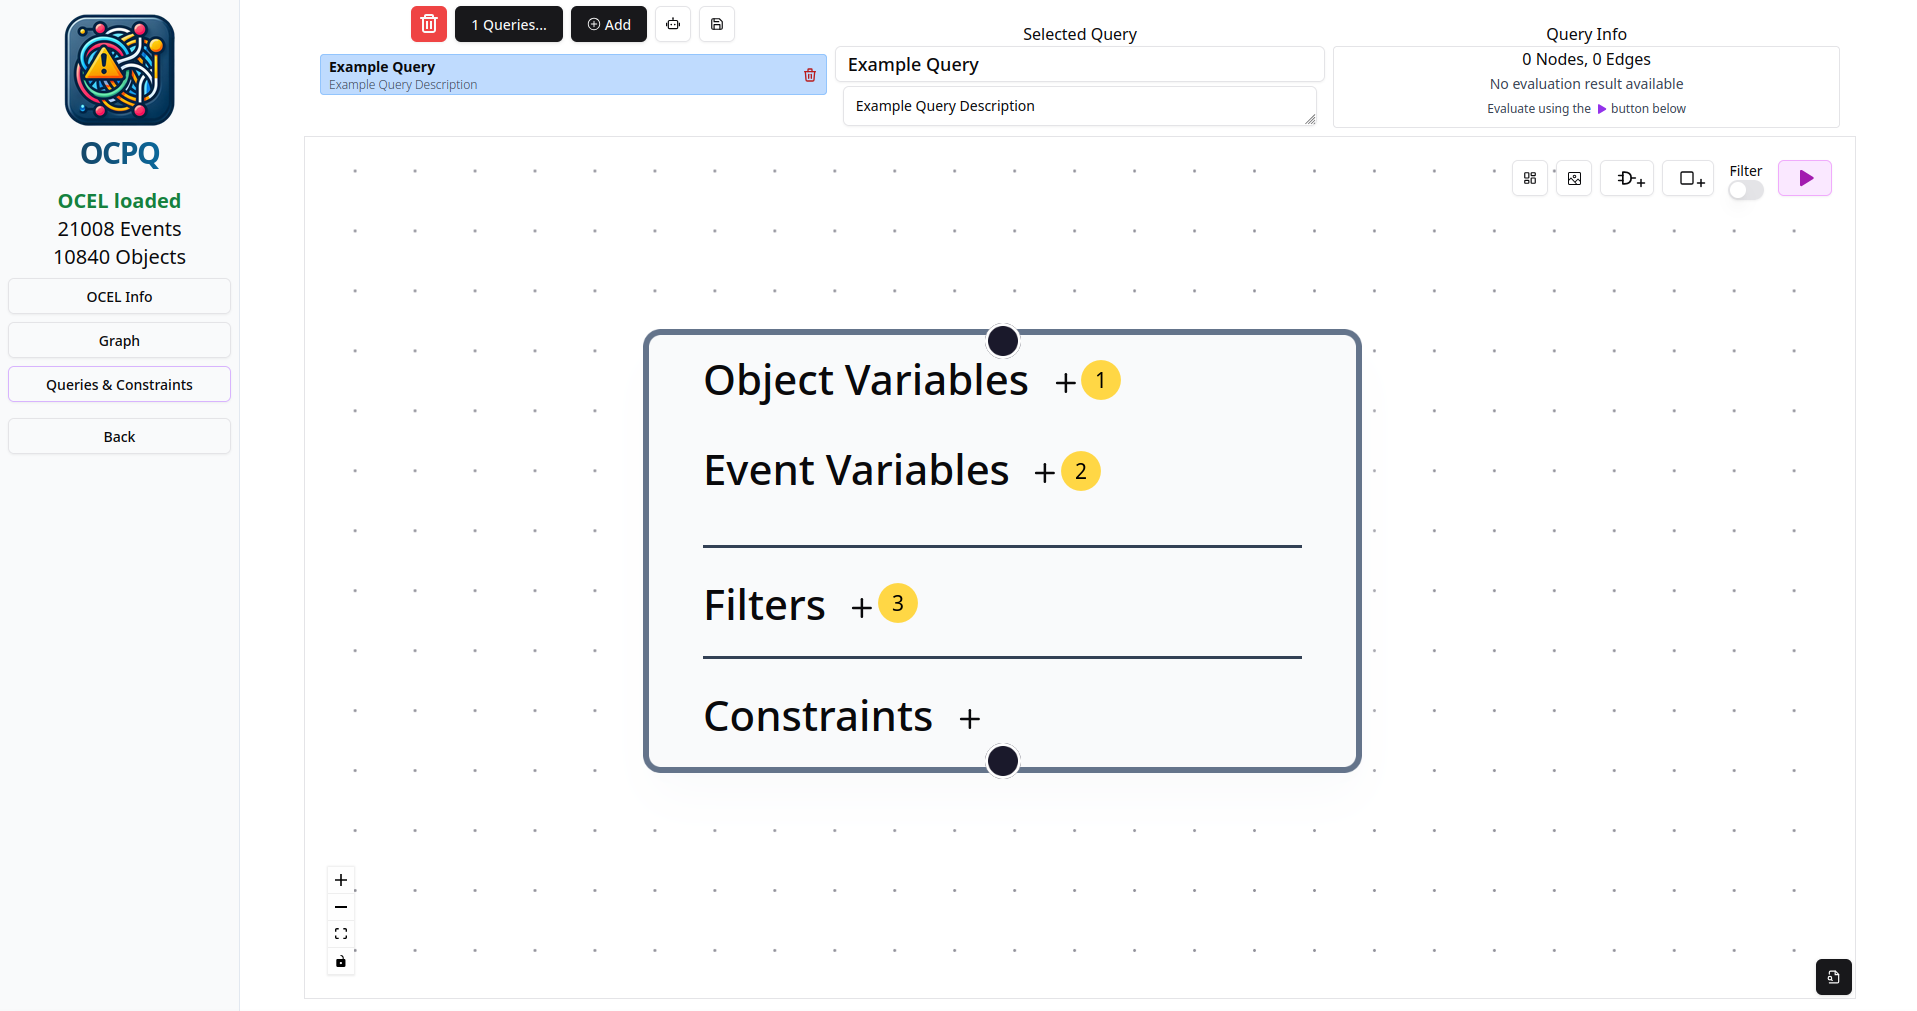
In the added node, there are four different buttons to modify it by ading variables, filters or constraints.
- On the top, at 1, a new object variable can be added
- Next, at 2, a new event variable can be added
- At 3 filter predicates can be added to the node
- There is also the option to add constraints, which are not covered in this guide.
Object Variables
First, click on the icon next to the text Object Variables to open the add object variable dialog.
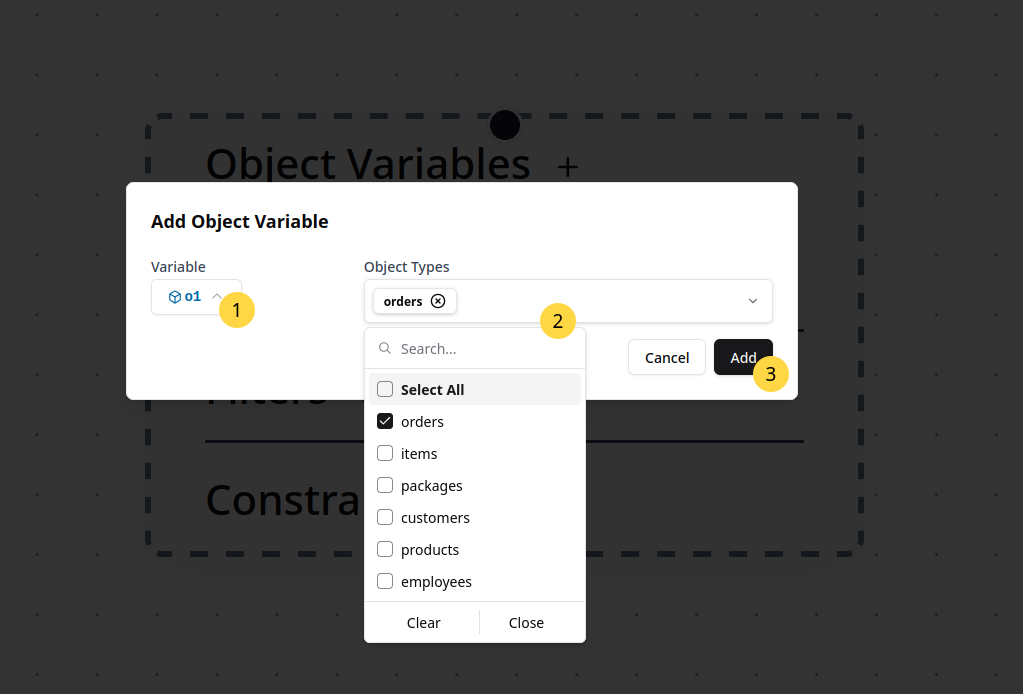
In this dialog, the following options can be selected:
- Variable name 1.
This is the name of the added object variable and used to configure filter predicates which are based on this variable.
When adding multiple variables, make sure to selecte different variable names for the different variables.
For now, we can leave this as the pre-selected
o1name. - Object types 2.
Here the allowed object types for bindings of the variable can be selected.
By default, the first object type found in the loaded OCEL is pre-selected, in this case the type
orders. We will stick with the object typeordersfor now. In general, it is also possible to select multiple allowed object types.
Finally, the configured object variable can be added using the Add button 3.
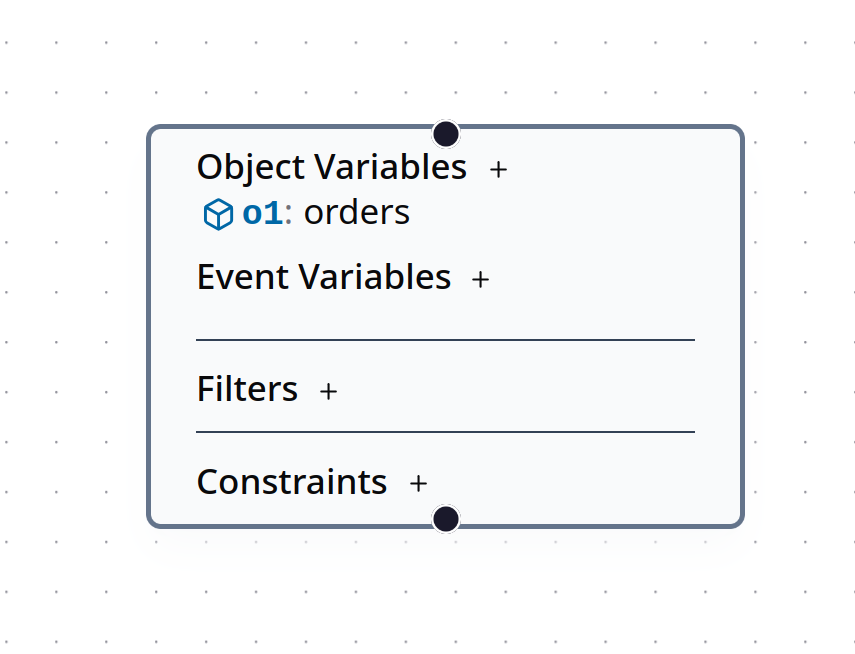
Afterwards, the node is updated to contain the object variable that was just added, as shown below.
Events Variables
Next, click on the icon next to the text Event Variables to open the add event variable dialog.
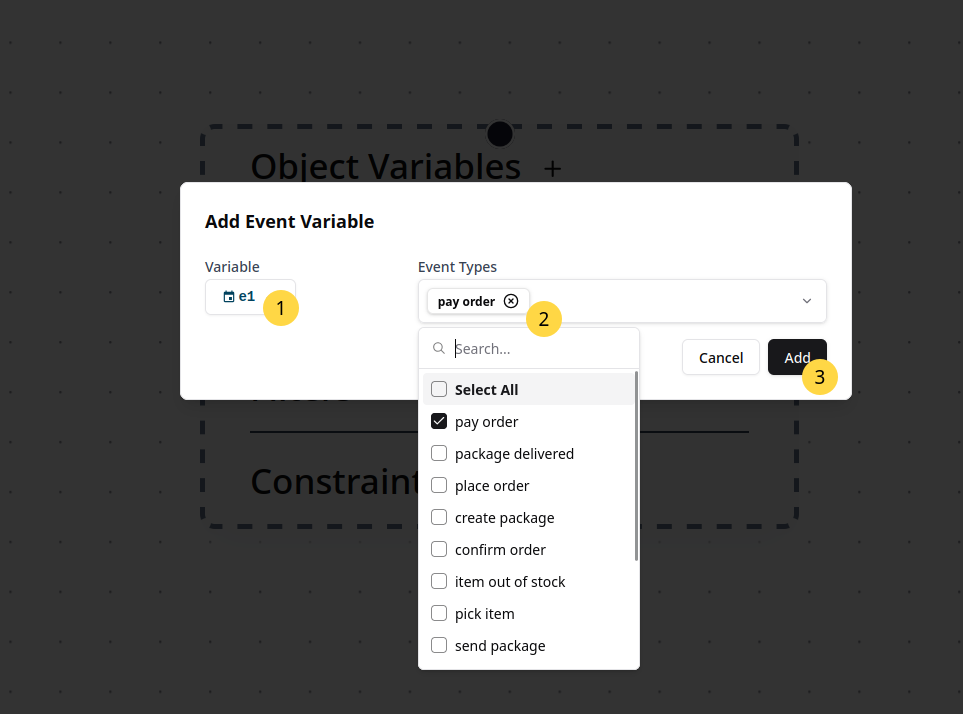
In this dialog, the configurable options are analogous to the object variable dialog.
The event variable name 1, the allowed event types 2 can be selected.
As an example, we again used the pre-filled options (e1 and pay order) and add the event variable using the Add button 3.
Afterwards, the updated node should look as shown below.
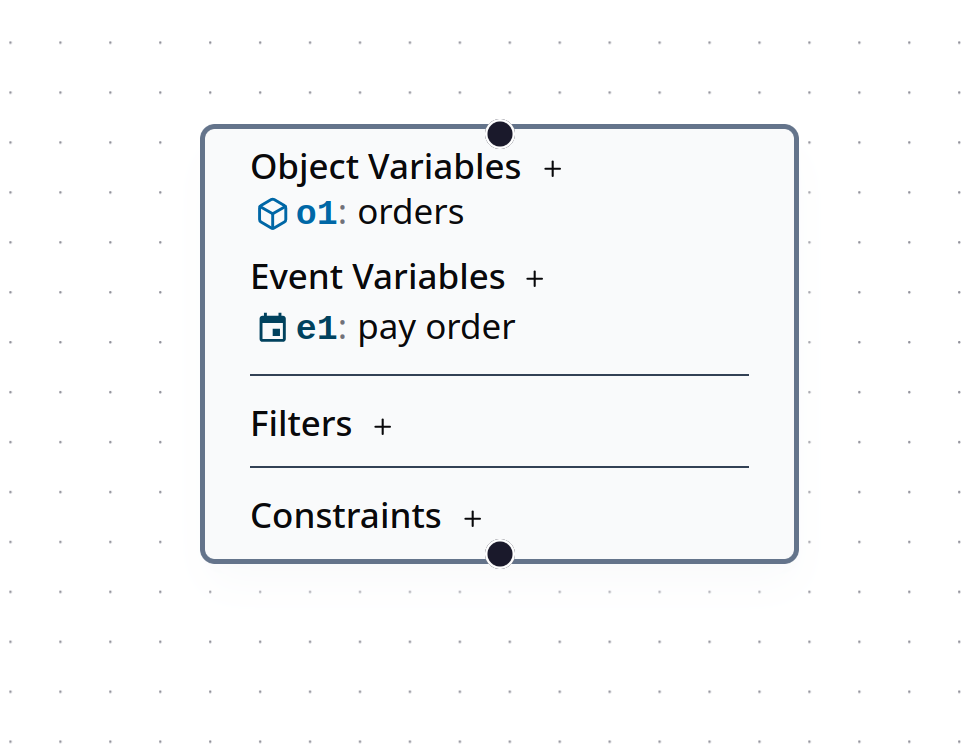
Filter Predicate (E2O Relationship)
Next, click on the icon next to the text Filters to open the add filter predicate dialog.
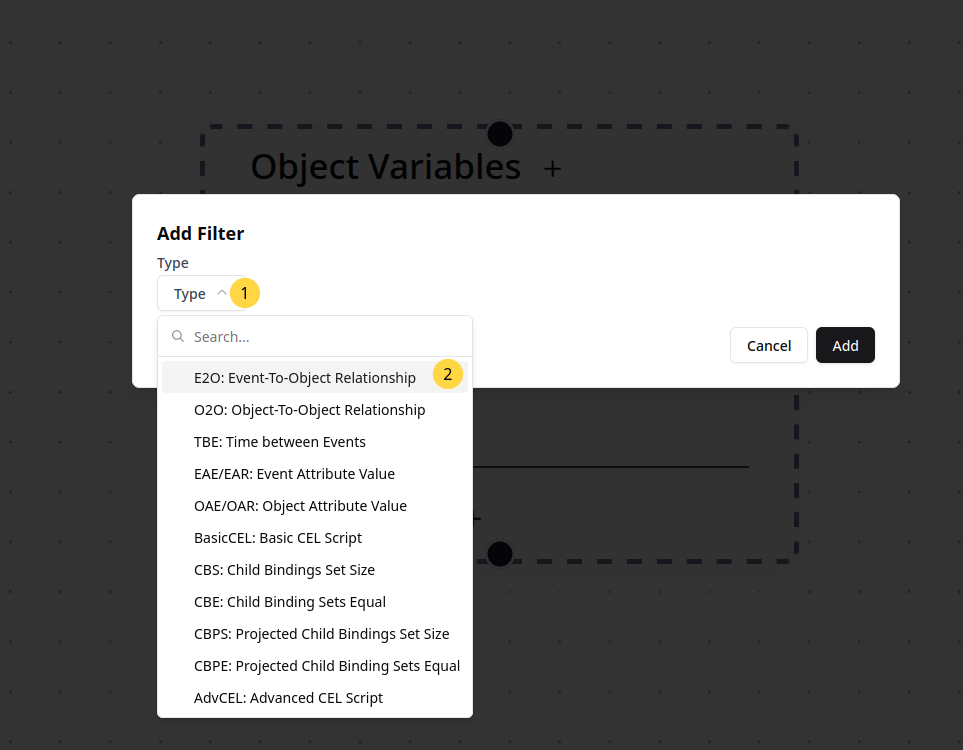
First, the type of filter needs to be selected 1.
From the list of available types, select the filter predicate type you want to add.
We want to link the object variable o1 and the event variable e1, such that only combinations of o1 and e1 are queried that are in an event-to-object relationship (E2O).
Thus, we select the E2O filter from the list 2.
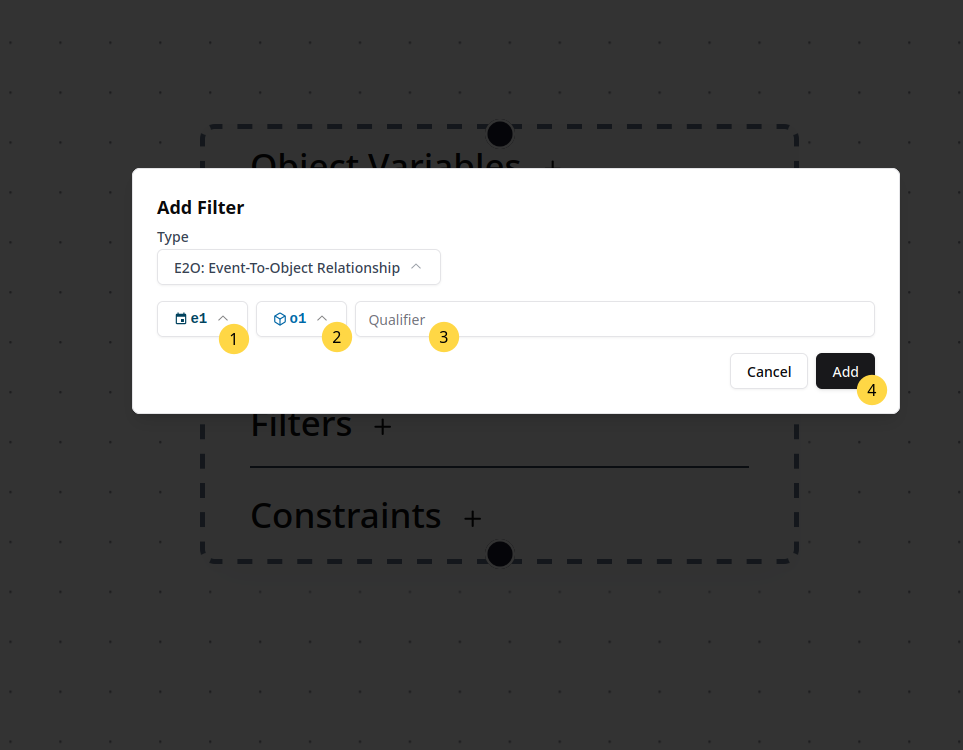 The
The E2O filter has some options that need to be configured.
First, select the event and object variables you want to be in an event-to-object relationship (1 and 2).
Optionally, the qualifier for the E2O relationship can also be specified. Only E2O relationship with the given qualifier will then be considered.
However, in this example we do not restrict the relationship qualifier, so we leave this field empty.
After adding this E2O filter predicate, the updated node should look as shown below.
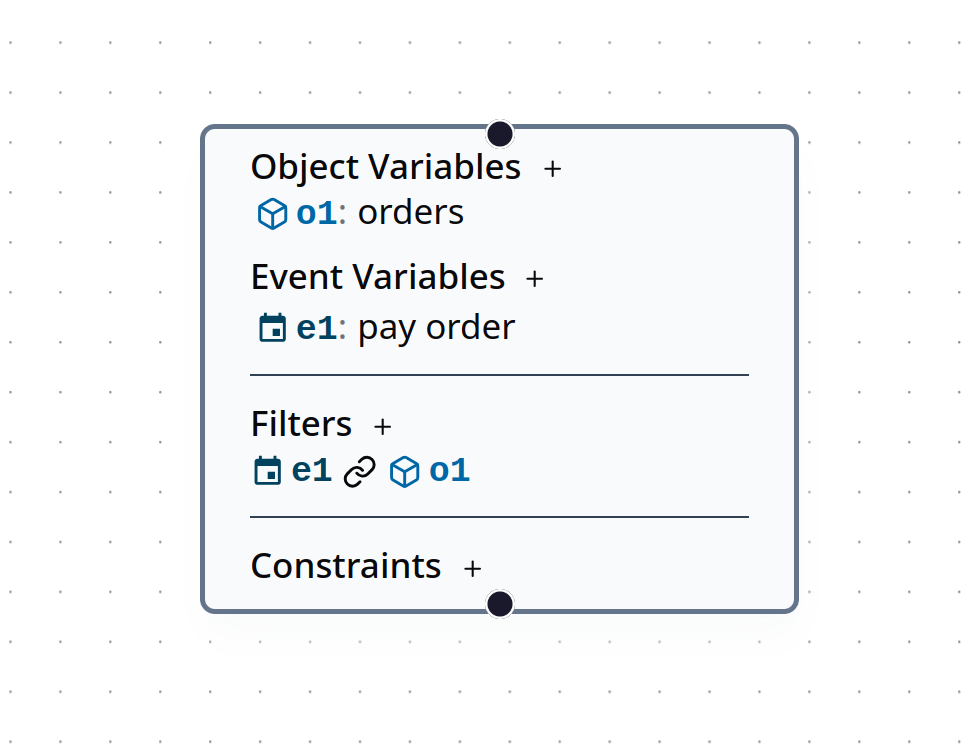
With this, our first simple query node is complete. In the next steps, we will evaluate this query and explore the resulting output.
Evaluating the Query
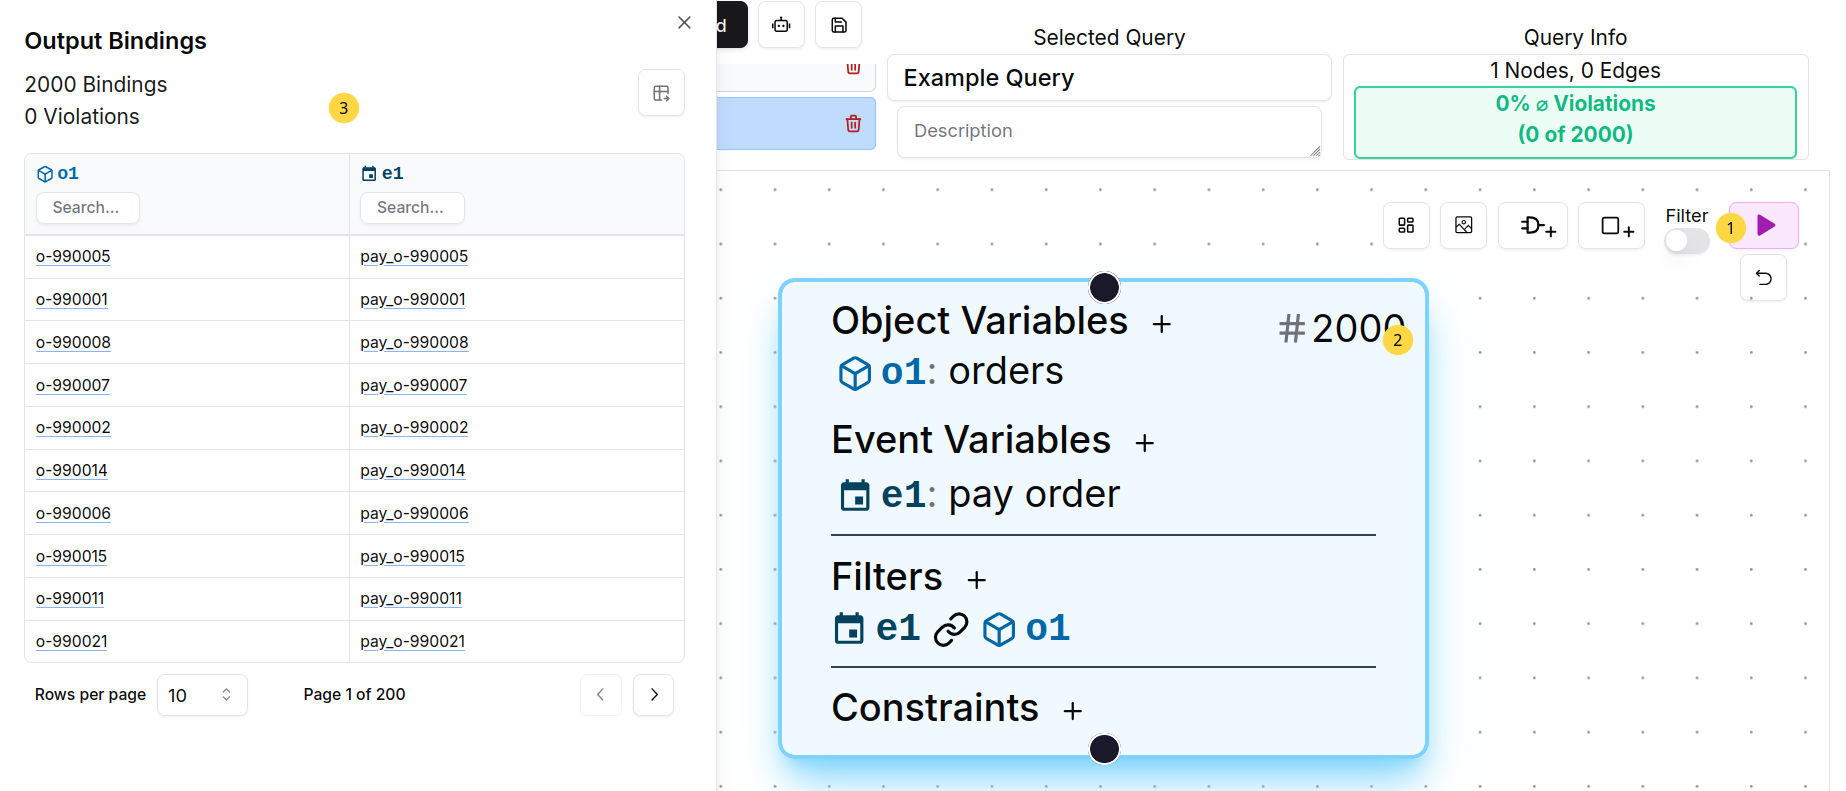
To evaluate the created query node, click on the play button on the top right 1. After the backend finished evaluating all query nodes, each node is colored in light blue and the number of binding results is shown on the top right of each node. The individual binding results can be explored by clicking on the total number of bindings for this node 2, and are then shown in a table format in a sidepanel 3.
